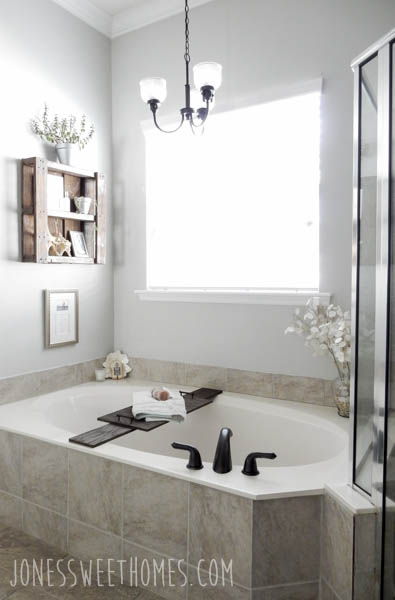
I have GOT to slow down. At this point, I’m 24 weeks pregnant and still going full steam on the many house projects that I have in my mind. It’s like a revolving list. One thing gets crossed off, three more get added. Why?! I always think, “I just need to get x, y, z done and THEN I’ll chill.” So far that has not happened. SO. I’m putting it on my list to relax. There are no more babies in the plans for us and at some point I’d like to just enjoy being pregnant. We have a beautiful bathroom (with newly painted cabinets, thank you very much) and a ginormous bath tub, so I think that’s where I’ll start. So of course, I needed a DIY Bath Tub Tray.
I saw this lil project from Amanda at Love and Renovations and already owned all of the materials to make it happen, so I thought #DIYnot?! (Yes, I see the irony that my “relax time” required another project. Sigh.) Here is my take on the super quick and easy DIY Bath Tub Tray!
 The full step-by-step from Amanda is here. My take pretty much isn’t even fair, because we coincidentally happened to have a piece of wood nearly the exact same width of our bath tub left over from our floating shelves project.
I literally grabbed the two scraps of wood, stained them, and nailed them together. Small screws would have been better, but my husband AGAIN ever so rudely took the drill (that he does in fact need for work purposes) out of town with him. So nails it was.

To dress it up a little I added two cabinet pulls that were $3.00 each, and that was it! Isn’t she cute?! I really like that it at least adds something over that vast empty space of the tub.


Here is the break down of this project:
MATERIALS
Two scraps of wood, one approx. 6-8″ long x the width of your tub, and one whatever “tray” size you desire.
Stain (I had Minwax Jacobean on hand)
Nails (You should use screws, though the nails are holding just fine. Just make sure they’re not poking out the bottom.)
Two cabinet pulls of your choice (you’ll need to drill through the boards with a small drill bit to add the hardware)
TIME
Maybe 15 minutes of actual work?
1 hour for the stain to dry
COST
$6 (for the hardware only, the rest of the materials I had on hand)
If you purchase the wood it may be another $10?

Don’t forget to PIN IT!
Now… do I relax this evening or cross stuff off my revolving “to-do” list… Hope you all get some relax time this weekend and as always, thank you so much for taking time to stop by the blog today!

Leave a Reply